


So, this week brought yet
another set of challenges. See this
post for more on my week. But, I was able to get last week’s challenge
completed. Now, I didn’t create the zones she talks about because we eat at
home most of the time, the Hubster doesn’t take meals to work and we already
schedule a day each week for leftovers. But, it was REALLY nice to clean out both refrigerators and freezers!! I
like being able to look at everything in my fridge without having to move
things around. It’s nice.
So, this next week I’m
SUPER excited!!! The challenge is organizing cookbooks and recipes!!! Just what
I’ve been wanting to tackle! YAY!!!
Are you going to join me
this week? You should!! You can start anytime! Just go here
to sign up and join me as we tackle our home…one week at a time!!!
Stain Removal Tip
With four kids, and three
of them under the age of 3 (at least until Friday), you can imagine most of
their clothes have stains on them. I used to spend hours and sometimes days
trying to get stains out of our kids’ clothes. Not just dirt or grass stains,
but you know…those “stinky” ones?!
Yeah…we get those too! (Hope you’re not eating when
you read this!) So, here's how you can get those stains out...easily!!
 |
| Here’s a picture of one of Bekah’s stinky messes. |
Step 1: Remove clothing from child! DUH!!!

Step 2: Set washing
machine to the HOT setting. Just the regular HOT setting. (Not the gentle cycle. There's not enough agitation in it to work out the stain.)

Step 3: Set your water
level. If you only have the stained item to wash you can put it on small. If
you have several items I would put it on large.

Step 4: BEFORE you put
the clothes in, put in your laundry detergent. Then, also add about ¼ cup of vinegar and if you have a Downy ball (or
something similar) you will want to add a small amount of vinegar in it to run
during the rinse cycle.
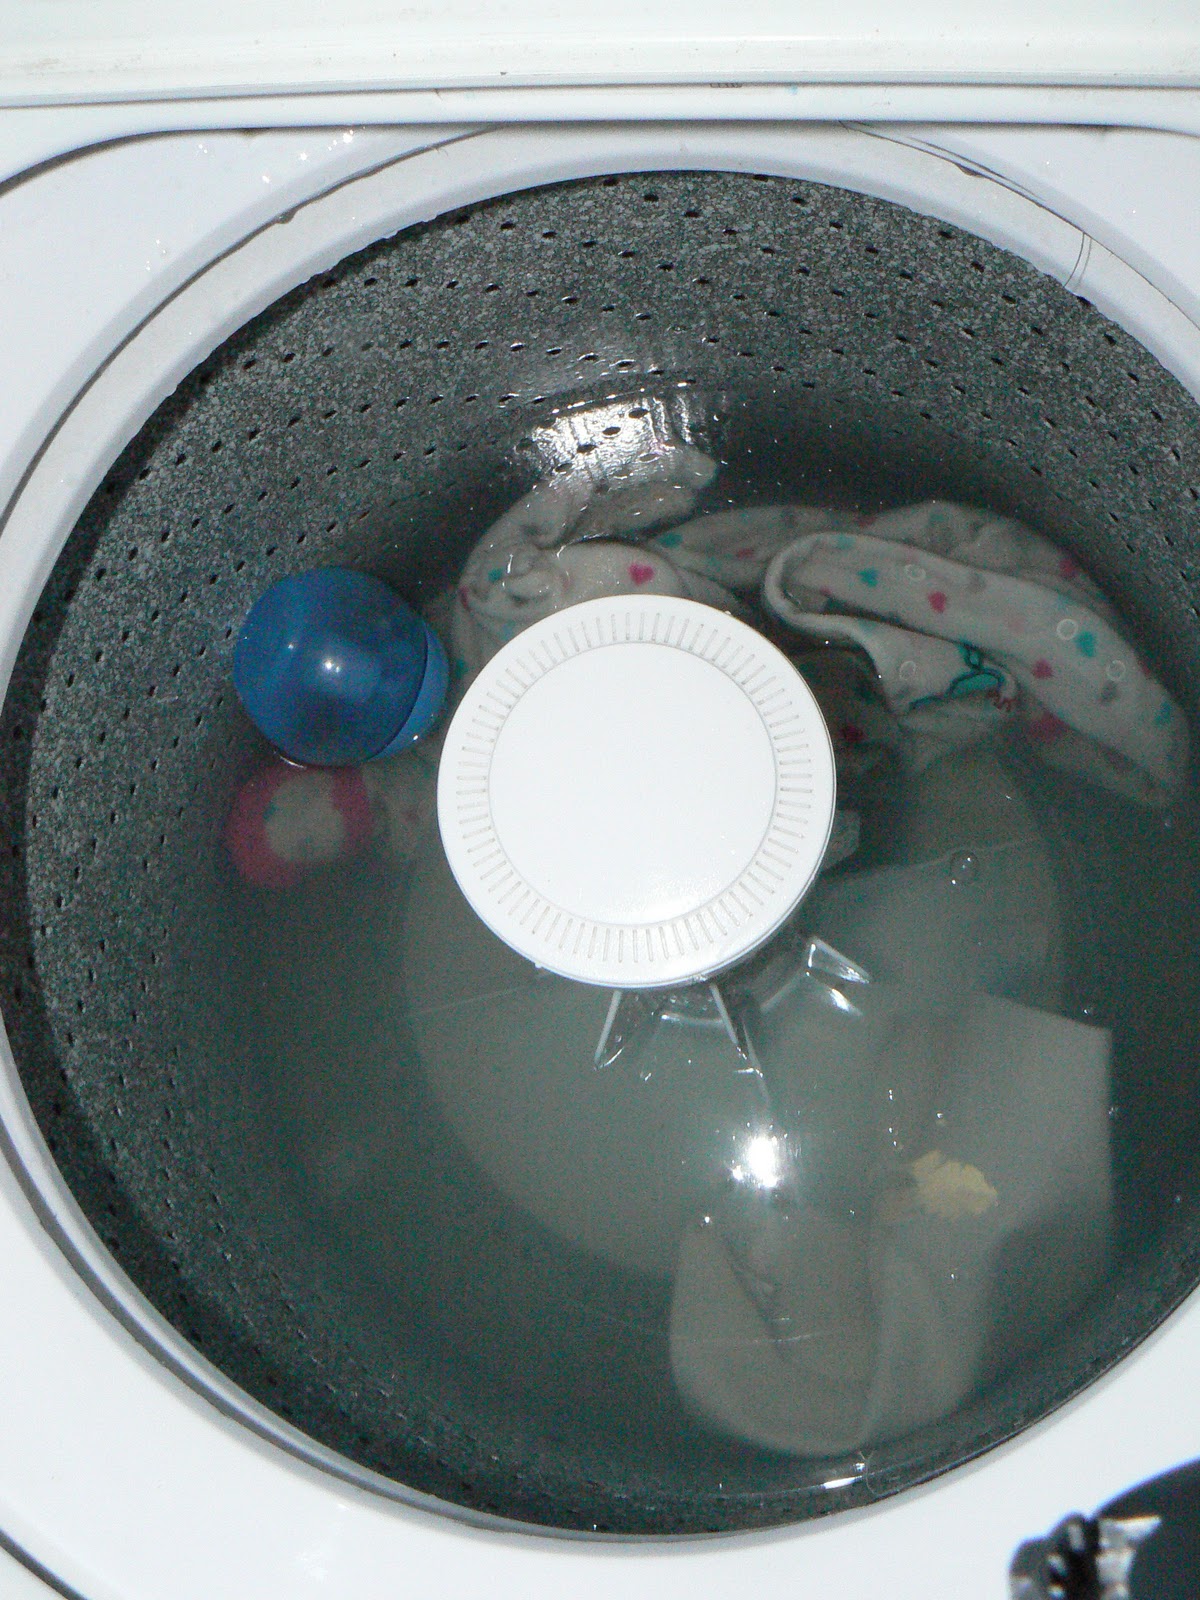
Step 5: Add clothes to
the wash. You’ll want to make sure the clothes are adequately covered with
water. And, if you have to increase the water level, go ahead.

Step 6: Take clothes out
of wash and admire their cleanliness!!! Ahhh...isn't it beautiful? I love looking at nice, clean, newly washed clothes! (Yep...I might be a nerd.)
Can you believe it? NO
scrubbing and NO harmful, smelly chemicals!!! It’s just that simple!
NOTE: I’ve done this MANY
times on pajamas, t-shirts, jeans and unders. I’ve not actually tried this on
grass stains, but it does work on dirt/mud stains as well as those “stinky”
ones!
Hope this makes your life
a little simpler.
Happy Organizing and
Happy Stain Removing!
Blessings,


2 comments:
Thanks for the tip. I'm surprised the hot water doesn't set the stain. I've never tried that I wonder how it would work in my HE machine. I usually spray the "stain to be" with Woolite Carpet cleaner and add to my regular load. Then I rinse twice to make sure I get most of the chemicals out.
Suanna - I'm not sure how it would do in the HE machines. You might try it on an old t-shirt or something first. That way if it doesn't work or gets ruined it won't matter!
Truth be told...the Hubster stumbled across this by accident. We've been using it ever since! It's crazy!!
Let me know if you try it and how it works! I could update the post with your info!
Thanks for looking!
Post a Comment